
Microplastering: The Finish That’s Quietly Replacing Traditional Wall Treatments
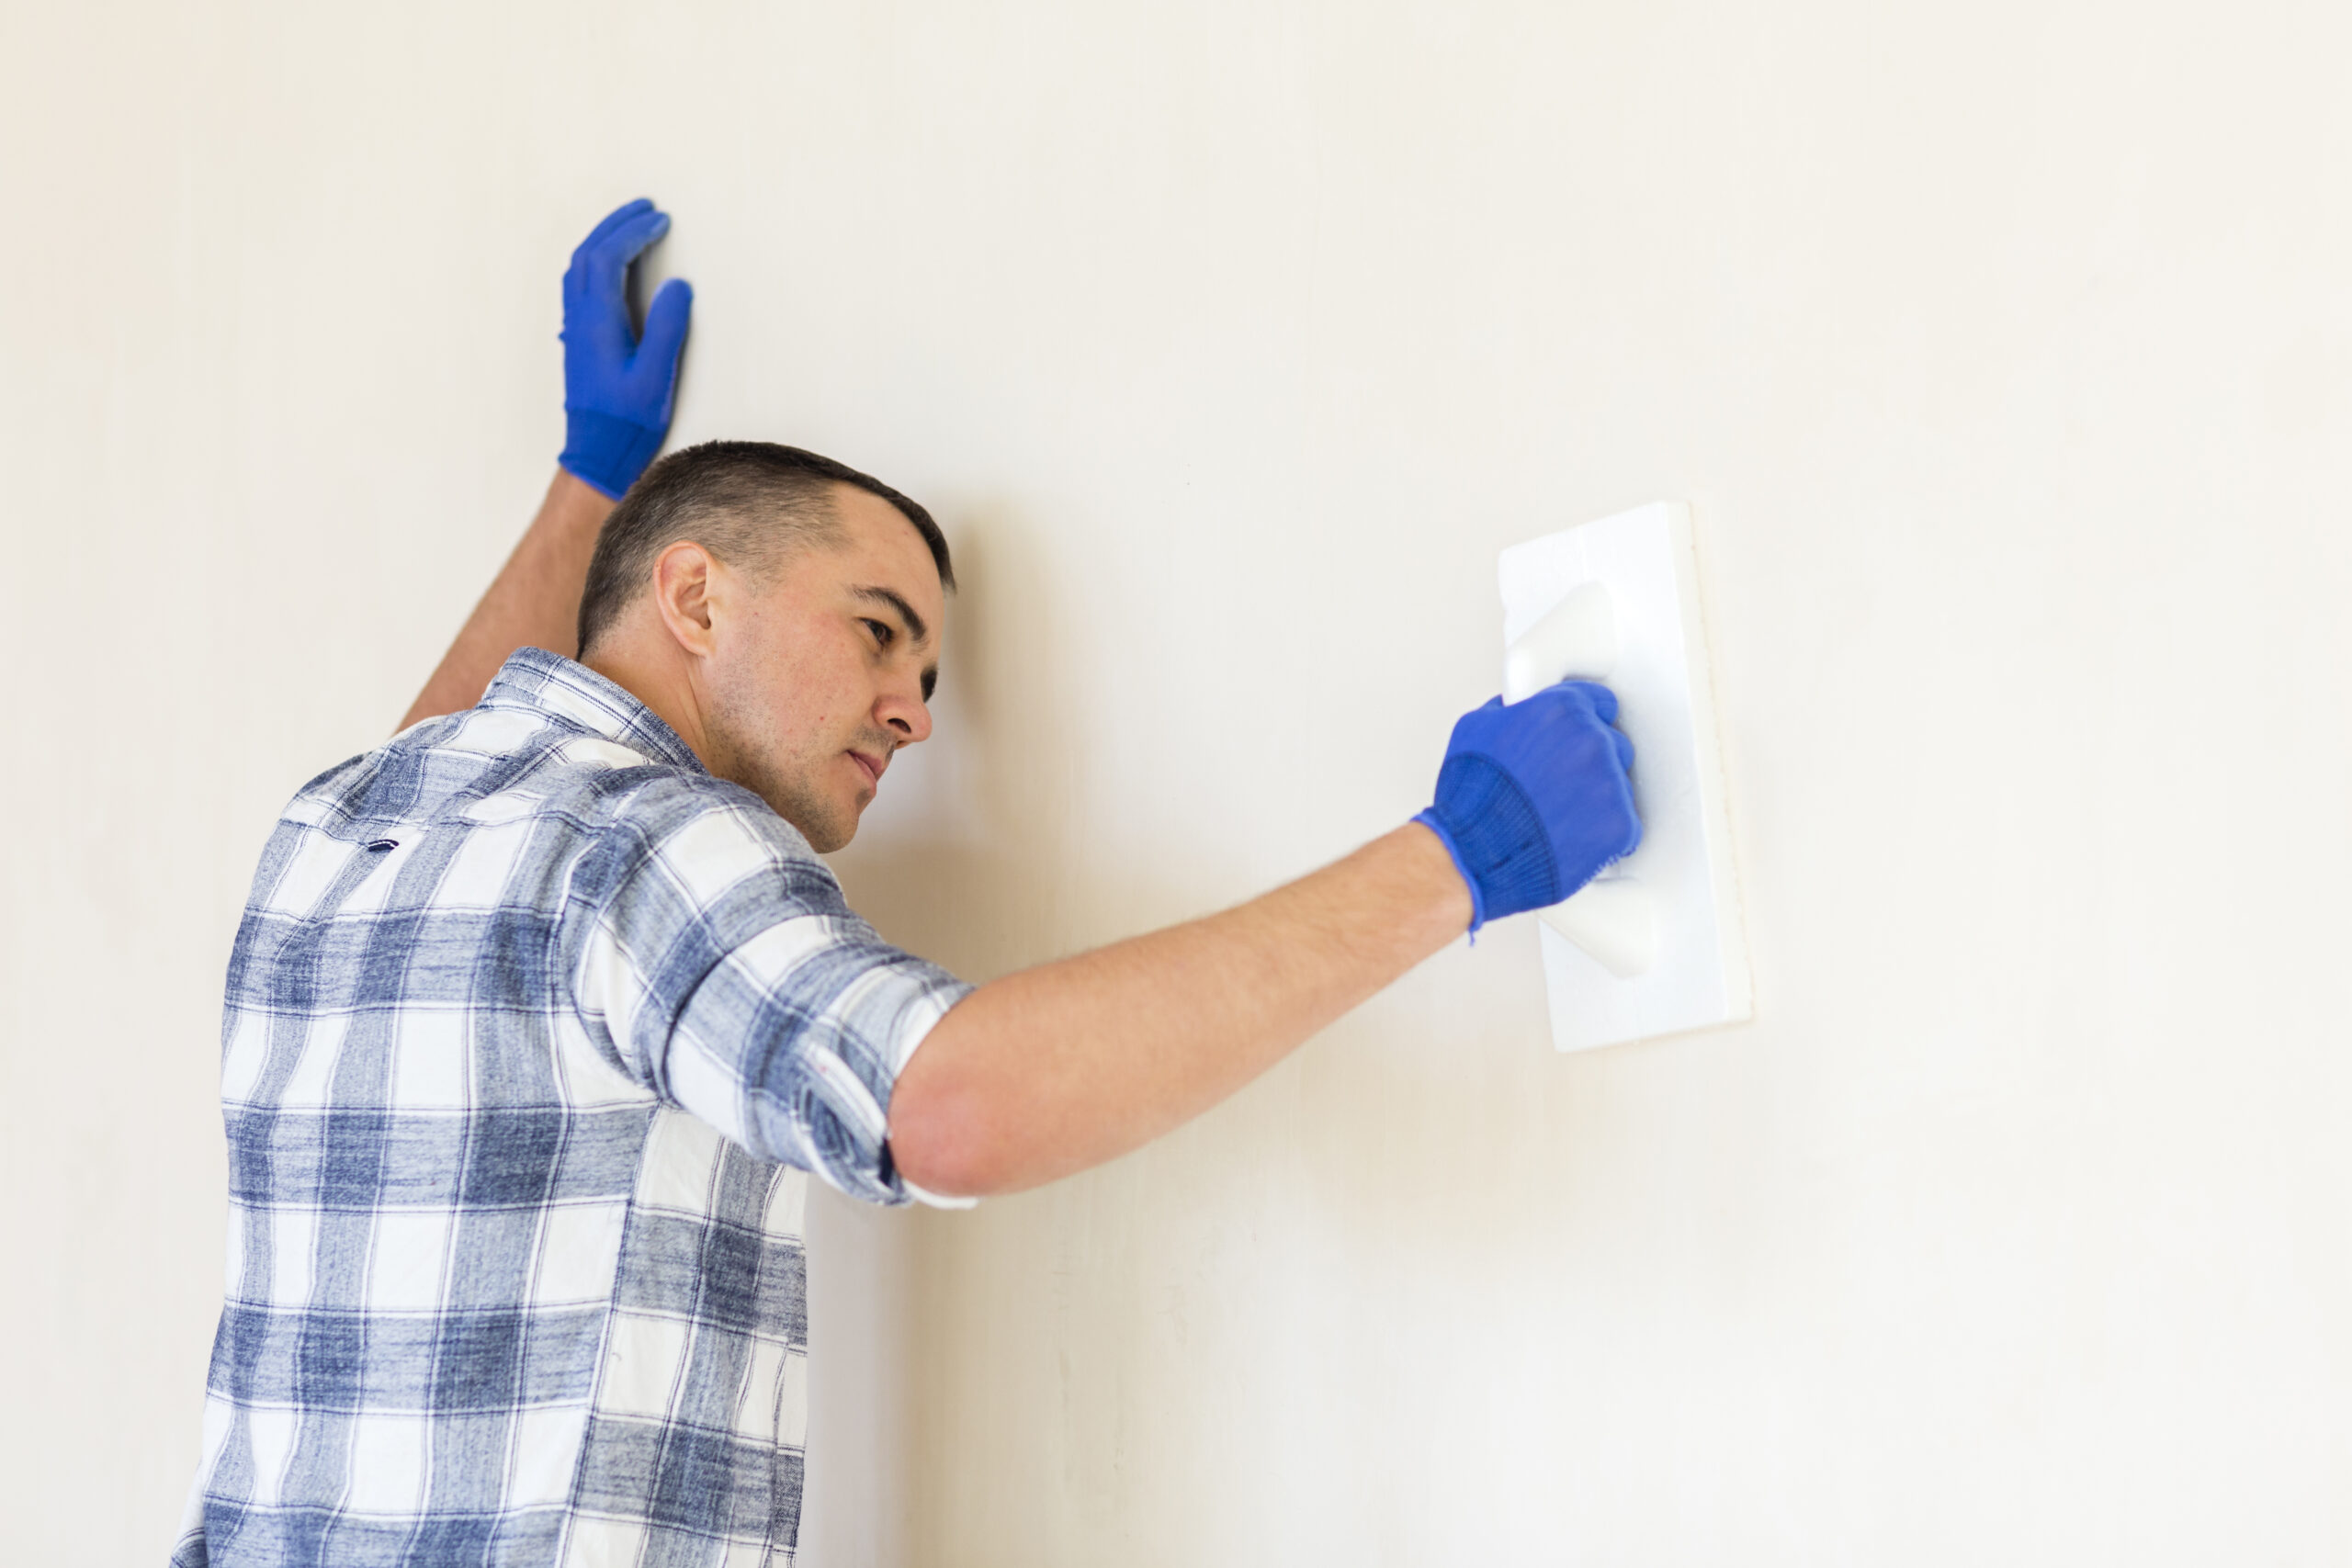
Walls don’t get much attention until something goes wrong. A crack here, a patch of peeling paint there, a bathroom tile that lifts at the corner. For years, the answer to all of this was the same: re-tile, re-paint, re-plaster. But there’s a finish that’s been quietly changing that conversation across high-end homes and commercial spaces in India. Microplastering is no longer a niche specialty. It’s becoming the go-to wall treatment for anyone who wants a space that looks polished, feels modern and lasts well beyond the usual lifespan of conventional finishes. At LifeSpace Interiors & Decors, microplastering has become one of the most requested Value Added Services, especially for clients who want premium finishing touches that go beyond what standard carpentry and paint can achieve. What Is Microplastering? Microplastering is a thin, cement-based decorative coating applied over existing walls, floors or surfaces. It typically sits between 1 and 3 mm thick, which means it adds virtually no bulk. The surface can be polished to a high sheen, kept matte or given a subtle texture depending on the design direction. The key visual difference from any other finish is continuity. There are no tiles, no grout lines, no joints and no breaks. Just one clean, uninterrupted surface from corner to corner. The material is made from a blend of cement, fine aggregates and polymer resins. It bonds directly to the substrate beneath and, once sealed, becomes waterproof, resistant to staining and incredibly durable. That combination of aesthetics and performance is exactly why it’s replacing traditional wall treatments in kitchens, bathrooms, living rooms and commercial interiors. Why Traditional Wall Treatments Are Losing Ground Tiles have been the default choice for wet areas in Indian homes for decades. They’re familiar, they’re widely available and most contractors know how to lay them. But they come with limitations that become more obvious over time. Grout lines collect moisture and dirt. Edges chip. The visual grid of a tiled wall can make a small bathroom feel even smaller. And once a tile cracks or lifts, matching the original pattern becomes its own problem. Paint is easier but doesn’t hold up in high-moisture areas. Textured finishes like Venetian plaster have more character but require skilled application and regular upkeep. Wallpapers peel in humid climates. Each of these options solves one problem while creating another. Microplastering solves most of them at once. It’s waterproof, seamless, low-maintenance, visually clean and adaptable to nearly every surface type. For a country where humidity and heat put wall finishes under constant stress, that’s a meaningful advantage. Where Microplastering Works Best One of the reasons microplastering has caught on so quickly is how many surfaces it works on. It’s not limited to walls. Here’s where it makes the most impact: Bathrooms and wet areas are where microplastering performs best. The seamless surface eliminates grout entirely, which means no mould, no staining and no tedious scrubbing. A bathroom finished in microplaster looks like it was carved from a single slab of material. The effect is striking. Kitchens benefit from the same logic. The area behind a countertop or stove traditionally requires tiles for moisture resistance. Microplastering gives you that resistance without the visual interruption of grout lines or patterned tiles. Living rooms and bedrooms are seeing more microplastered feature walls. The matte or polished finish adds depth and texture to a space without competing with furniture or artwork. It reads as a considered design choice rather than a background element. Commercial spaces like restaurants, hotels, boutique retail stores and offices use microplastering to create an atmosphere of premium quality. A single accent wall or a fully microplastered interior immediately reads as intentional and high-end. The Application Process Microplastering is not a DIY finish. It requires trained hands, proper surface preparation and the right sealing to perform as advertised. The process typically follows these steps: Step 1: Surface preparation. The existing surface is cleaned, repaired and primed. Any loose material, oil or paint is removed to ensure proper bonding. Step 2: First coat. The base coat of microplaster is applied thin and even. This layer builds the foundation and begins the bonding process with the substrate. Step 3: Second coat. A finer coat is applied over the first to refine the texture and surface smoothness. At this stage, the finish direction is set. Step 4: Sanding and polishing. The surface is sanded between coats and then polished to the desired finish, whether that’s matte, satin or high gloss. Step 5: Sealing. A penetrating sealant is applied to make the surface waterproof, stain-resistant and ready for daily use. The full process usually takes two to four days depending on the size of the area and the number of coats required. Drying time between coats is non-negotiable. Rushing this stage is the most common cause of cracking or surface failure. Microplastering vs Tiles vs Paint: A Practical Comparison Tiles offer durability but come with grout maintenance and a rigid visual grid. Paint is fast and affordable but lacks moisture resistance and longevity. Venetian plaster is beautiful but high maintenance. Microplastering sits above all of them in terms of visual finish and long-term performance, though it costs more upfront and demands skilled application. For clients who are renovating once and want a result that holds up for ten years or more without looking dated, microplastering is the more sensible investment. How LifeSpace Interiors Approaches Microplastering At LifeSpace Interiors & Decors, microplastering is part of our Value Added Services because it genuinely adds value. It’s not an upsell for the sake of it. When a client is building a bathroom or redesigning a kitchen and they want something that looks exceptional and lasts, microplastering is often the right answer. Our team works with clients from the design visualization stage to help them see exactly how a microplastered surface will look in their space before a single coat is applied. We use 3D rendering and AR/VR tools to show finish options, colour directions and lighting interactions. By the